martedì 31 gennaio 2012

I giorni della merla - Blackbird's days

Tradizione vuole che le ultime tre giornate del mese di gennaio (29, 30 e 31) vengano riconosciute come "Giorni della Merla", ossia il periodo più freddo dell'inverno.

Credo che possiamo dire che la tradizione ha avuto quasi ragione quest'anno, visto che durante questa settimana , la penisola è quasi tutta sotto zero.

Beh pensando a questa leggenda e al freddo, ho voluto pensare ai uccellini fuori al freddo. Perciò insieme alle mie bimbe abbiamo creato due mangiatoie eco, veloci da fare. L'idea mi è venuta da Real Heart. Fortunatamente avevo dei semi per uccelli in casa ma si può pure fare con del pane, dei semi vari o dei cereali.

The tradition says that the last three days of January (29,30,31) are the coldest of the winter and these are known as "Giorni della Merla" (Blackbird's days)


This year we can say that the tradition is right as this week the weather has changed drastically as most of the country is below 0 degrees.
While I was thinking of the legend about these cold days, I suddenly thought of the birds in the cold. Therefore together with my daughters we have decided to make bird feeders. These are ecological, easy and fast to make. The idea came from  Real Heart.  Fortunately I had some bird seeds at home but you can make them with bread crumbs, cereal and any other foods

Occorrente- You will need

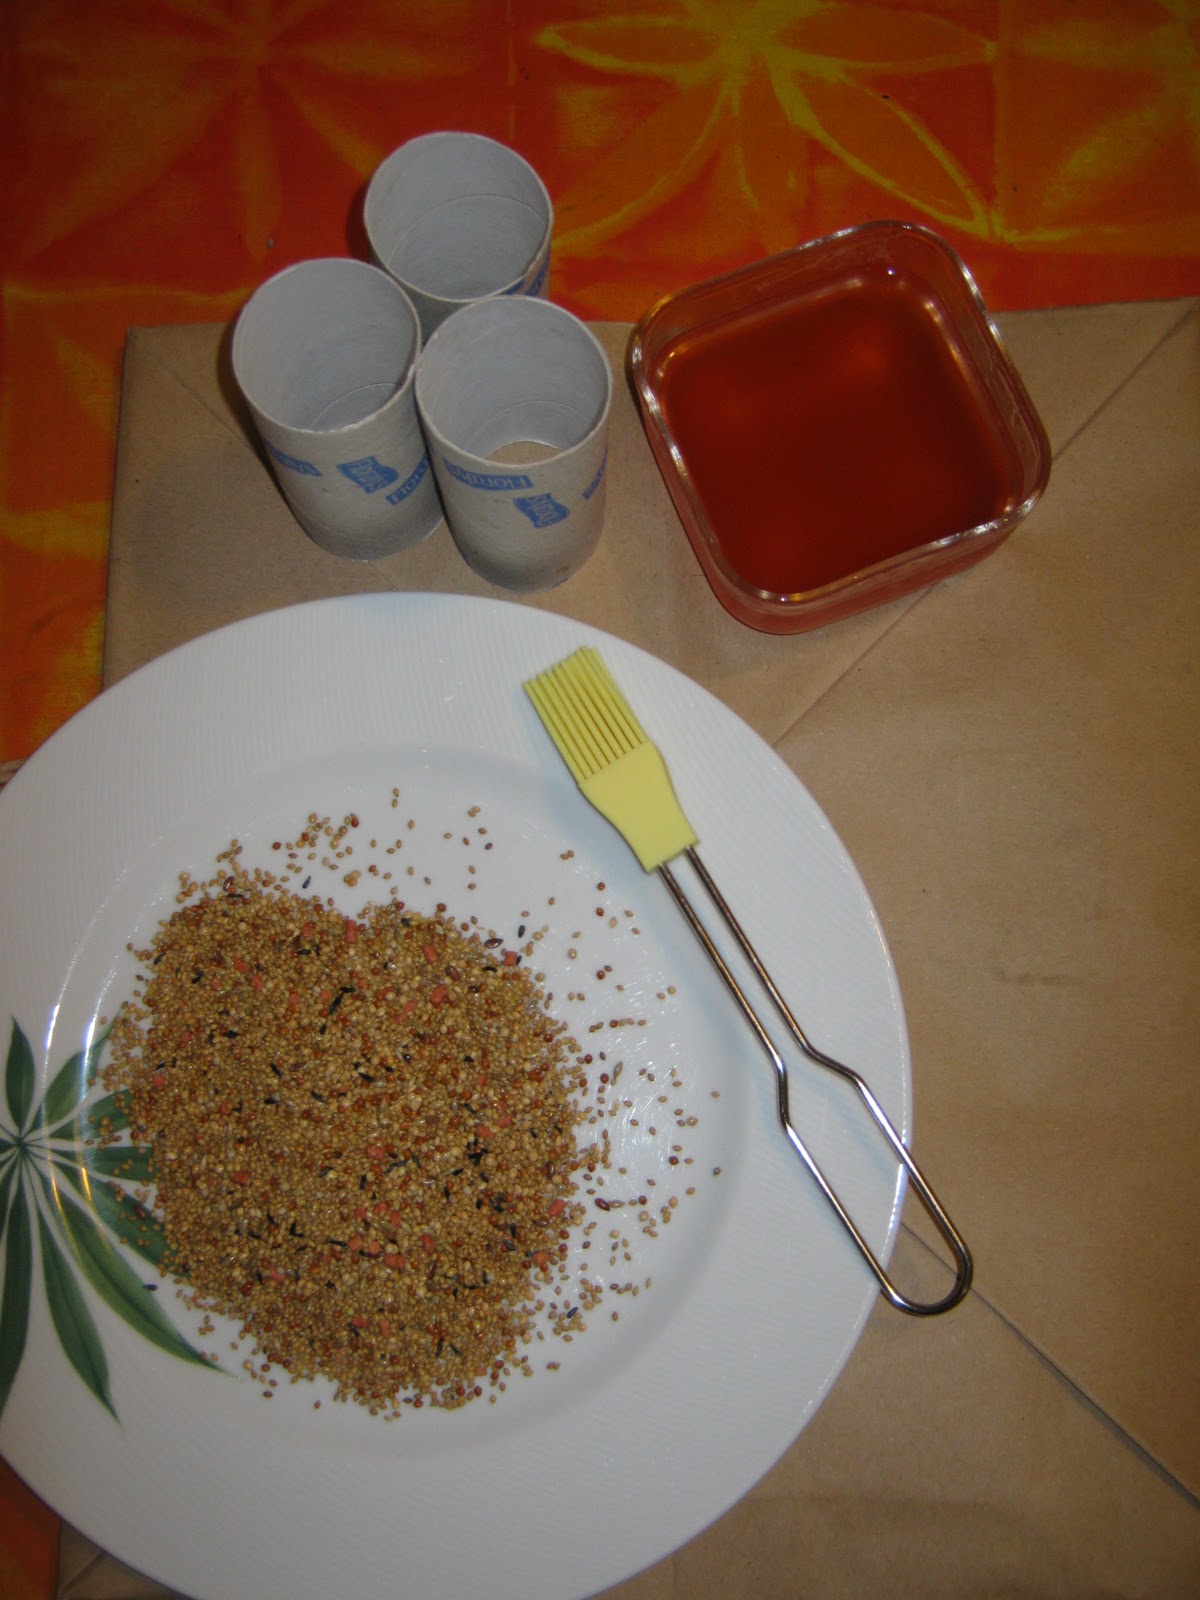
Semi/pane, rotolo di carta igienica oppure pigna, marmellata o miele (pure scaduta) e un pennello alimentare.

Seeds/bread, toilet paper roll or pine cone, jam or honey (even old are good) and a food paint brush.


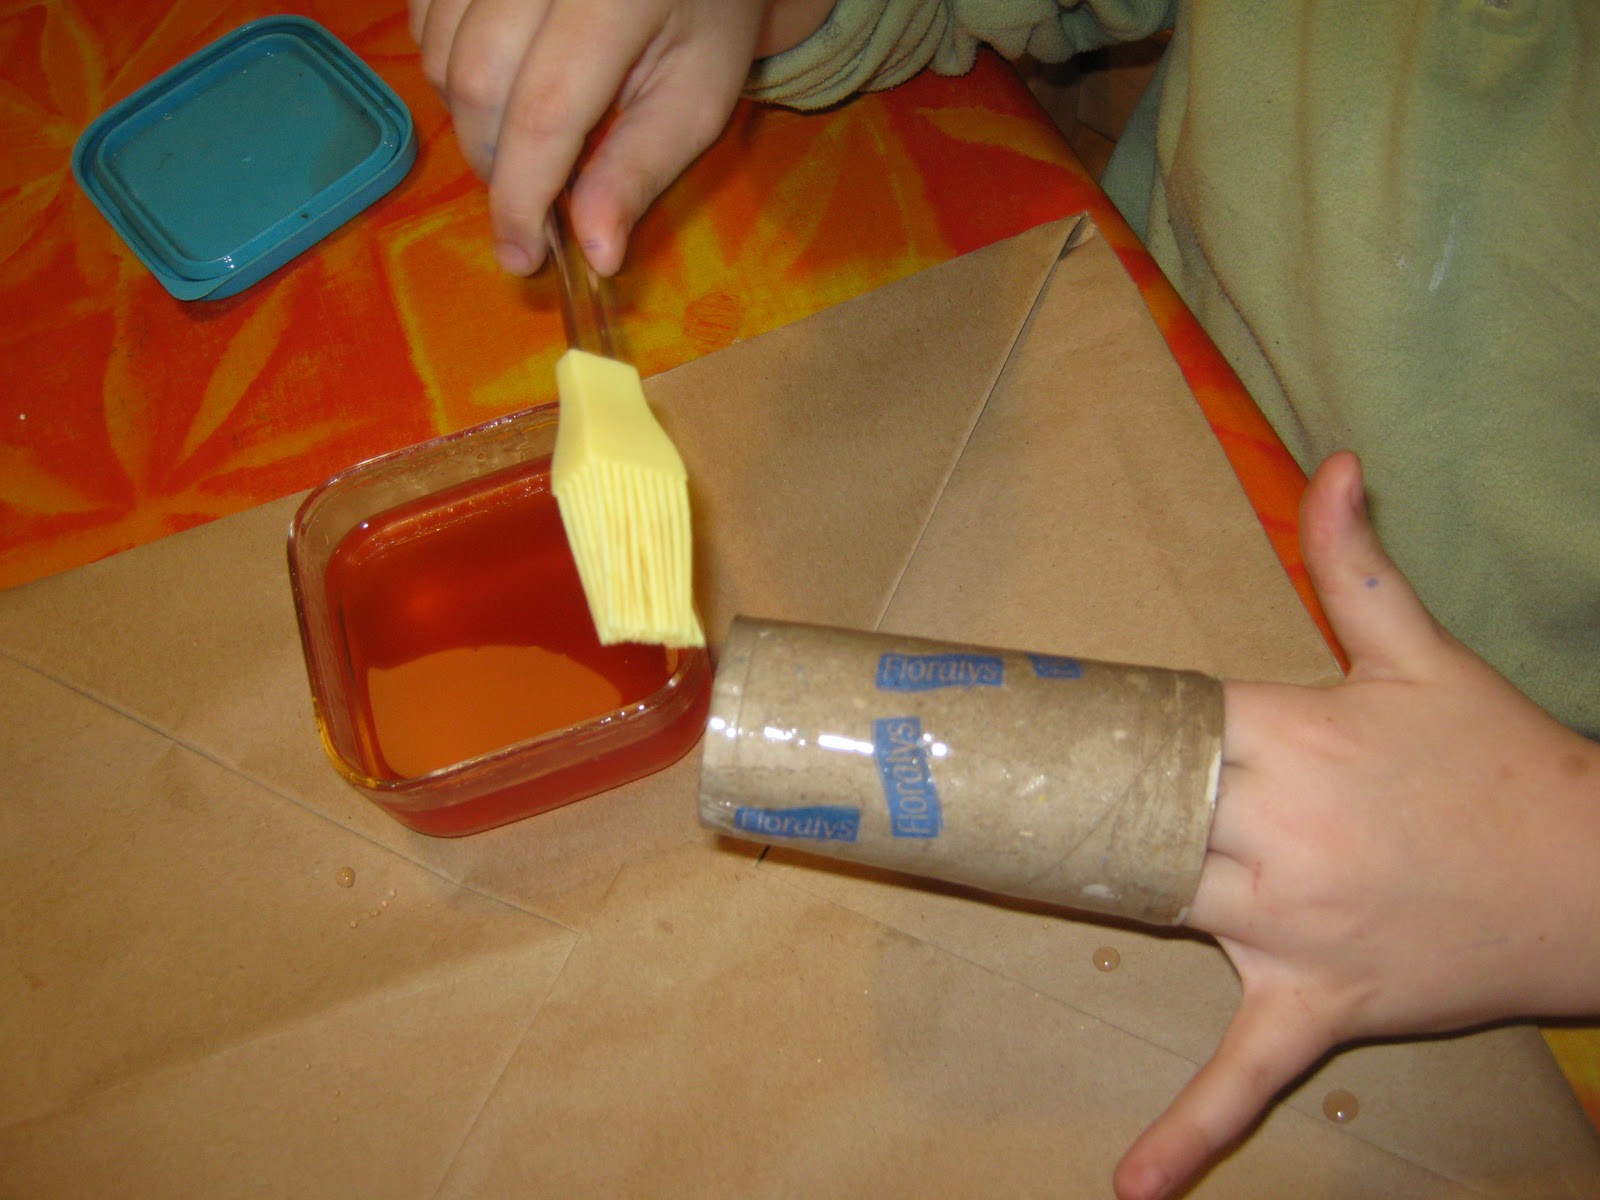
Con il pennello dipingete il rotolo o la pigna con la marmellata o il miele.

With the paint brush paint the toilet paper roll or pine cone with the jam or the honey.

Rotolatelo nei semi, oppure nel pane, potete usare del popcorn o dei cereali e uvetta.

Roll in the seed or bread or you can use pop corn o cereal with raisins.

Ora si può infilare direttamente su un ramo o se usate una pigna aggiungete uno spago e legatelo all'albero.

Now you can put the roll on a tree branch o tied the pine cone with a string.


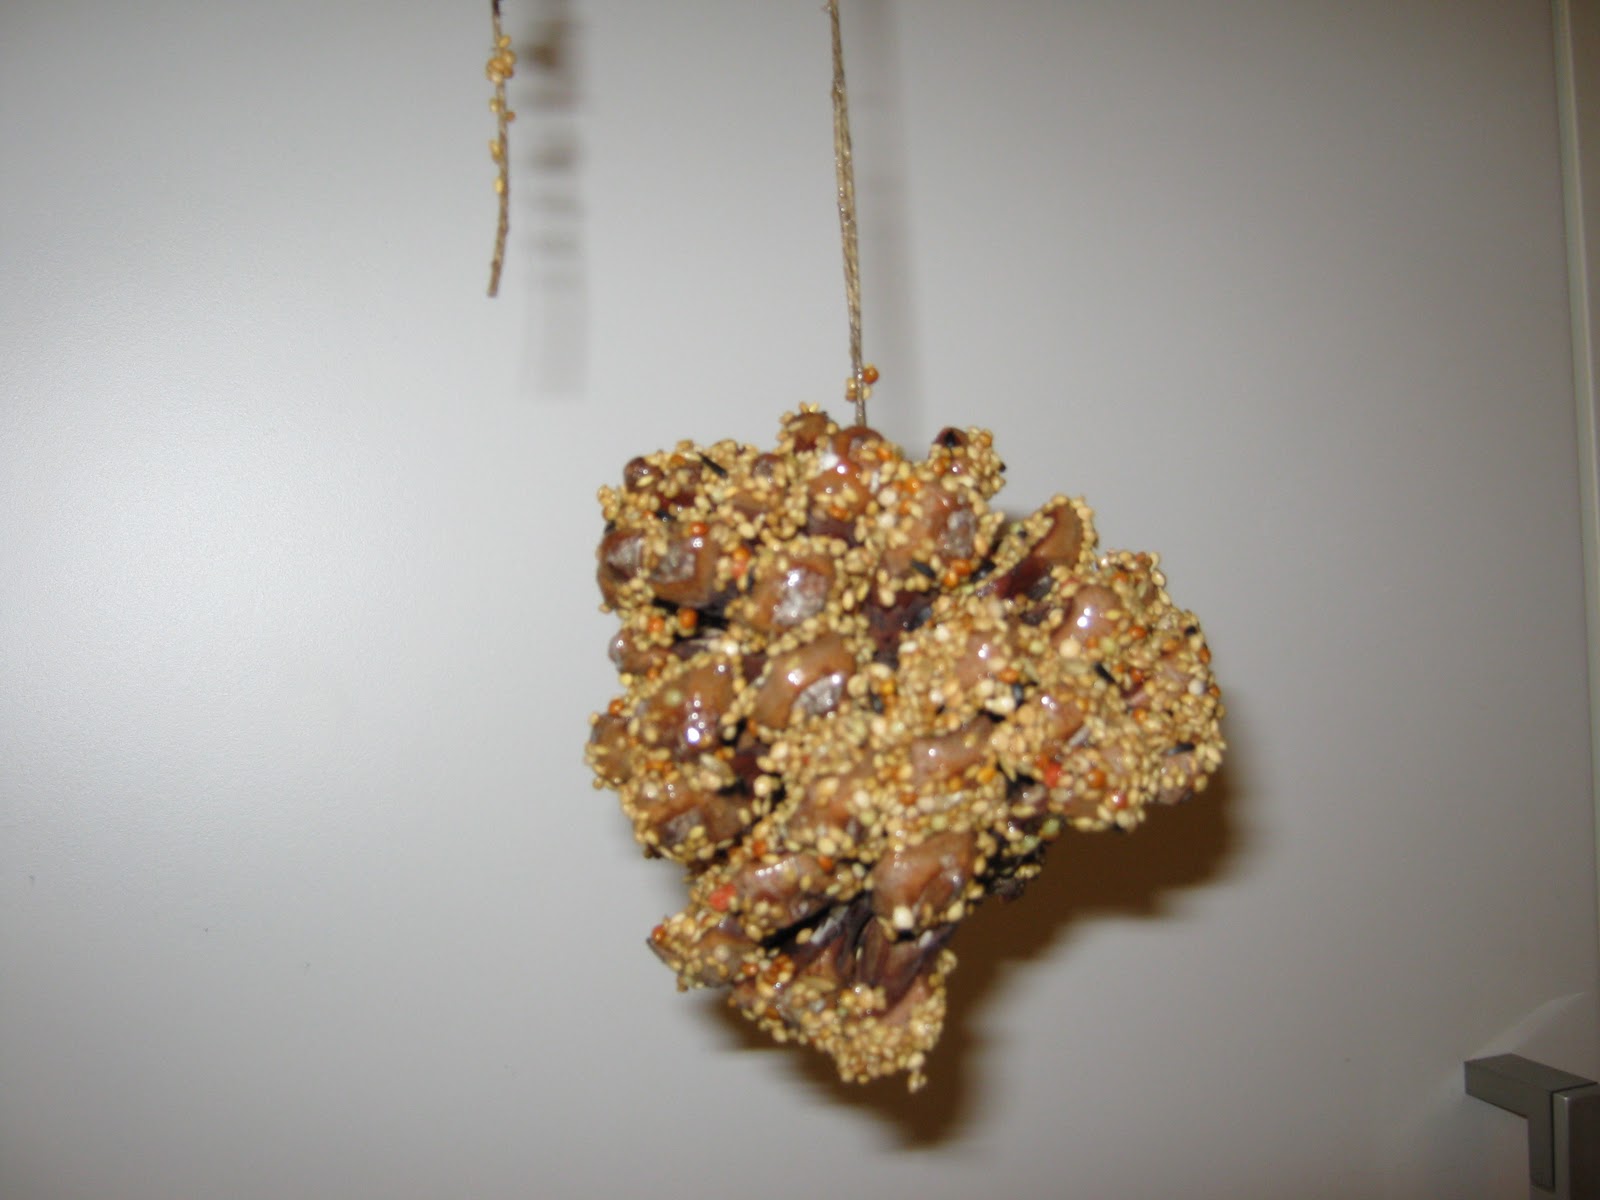
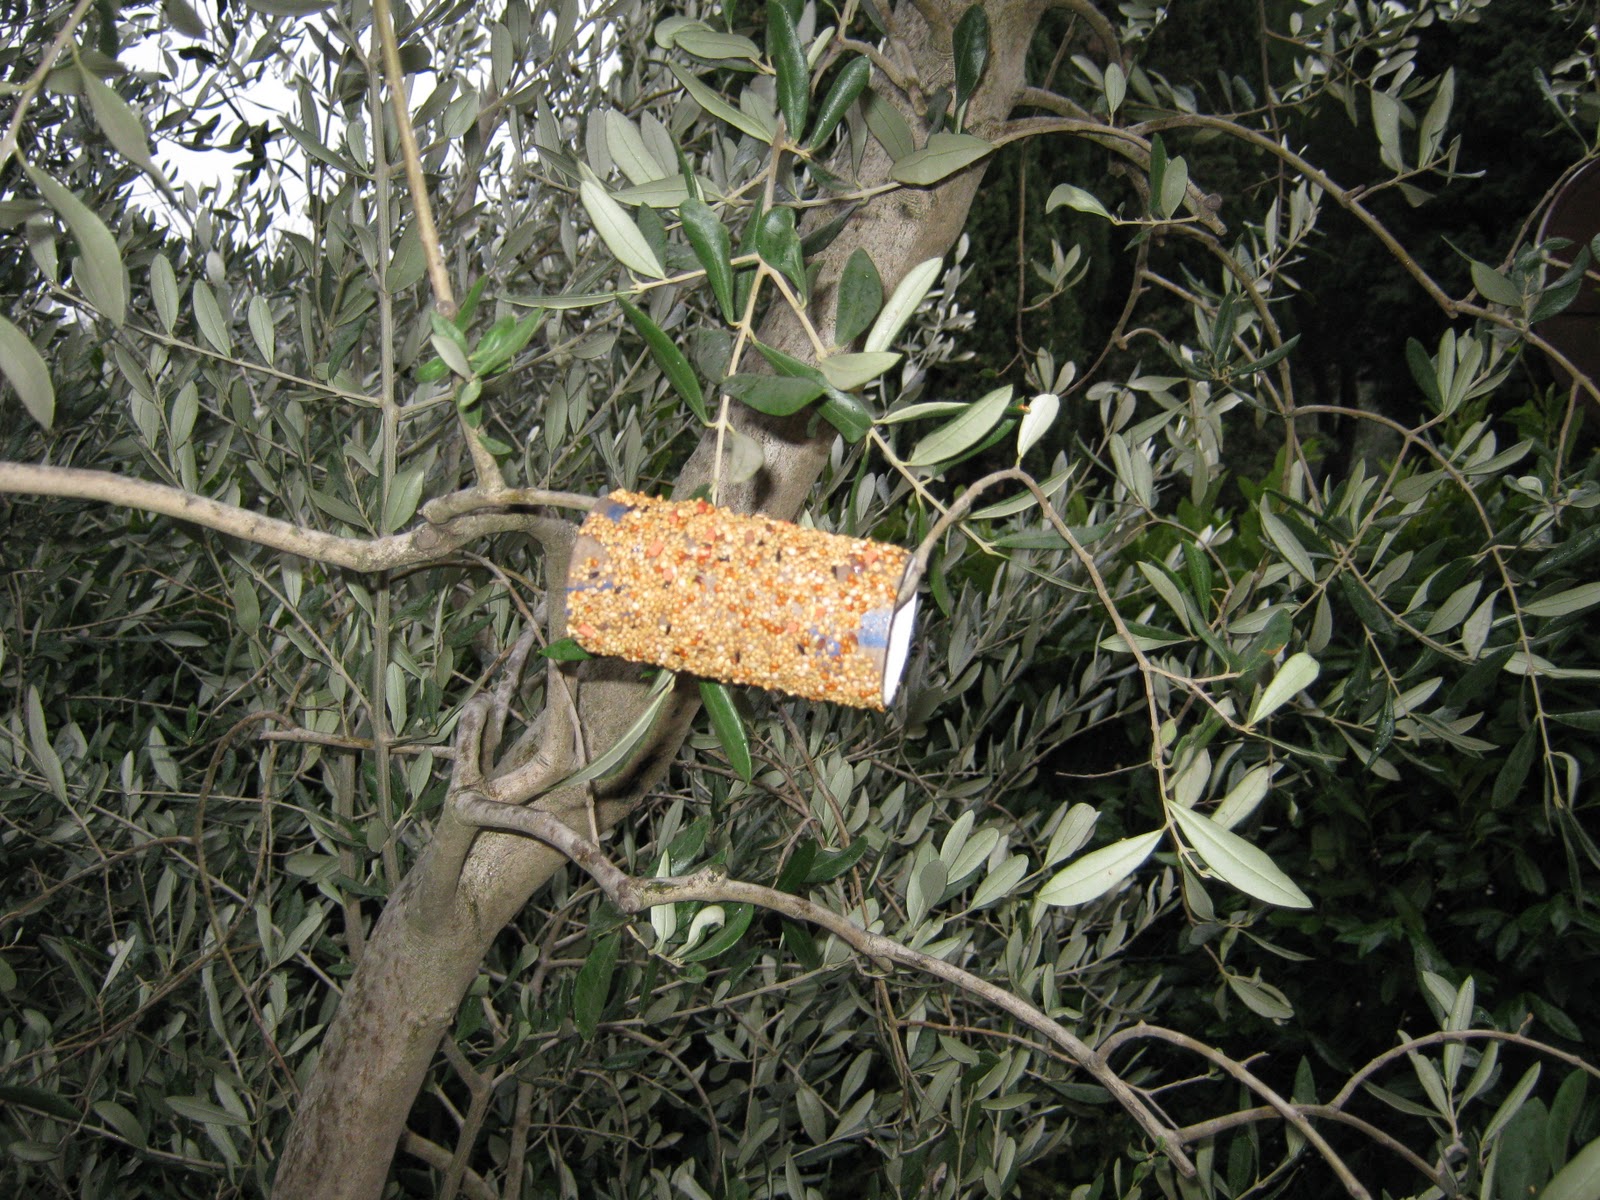
Ora fate divertire i vostri figli e riempite i vostri alberi, se non avete un giardino andate nei parchi!

Let your children have fun making these easy birdfeeders, if you don't have a garden have a walk to the park!

Emma

Liberiamo una ricetta: la torta di mele della nonna - Free the recipe: apple cake


E non riesco mai a fare una foto decente alla torta di mele!
E' uno di quei dolci, in casa mia, per cui tutti fanno il tifo!!!
Tipo: "che dolce preparo oggi? crostata o torta di mele? moretto o tiramisù?" la risposta, il 99% delle volte è: torta di mele.
Spesso le mele maturano senza che noi le mangiamo e, con questa ricetta, possiamo usare anche le parti della mela un pò "andate".

Ingredienti:

  •  4 mele
  • 200gr di farina
  • 150gr zucchero
  • 150gr latte
  • 2 uova
  • Succo e scorza di 1 limone
  • 1 bustina di cremor tartaro
  • 1 pizzico di sale
  • 1 pizzico di cannella

Procedimento:

Sbucciare le mele e tagliarle a fettine sottili, irrorarle col succo di limone e metterle da parte.

In una terrina mescolare tutti gli ingredienti fino a formare un'impasto morbido e consistente. prendere una pirofila e stendere metà dell'impasto, disporre le fettine di mela e continuare con l'altra metà dell'impasto.
In ultimo disporre le fettine di mela e poi infornare nel forno caldo a 180° per 30 minuti.
Buon appetito!

Le storie sono per chi le ascolta, le ricette per chi le mangia. Questa ricetta la regalo a un'amica. Non è di mia proprietà, è solo parte della mia quotidianità: per questo la lascio liberamente andare per il web.


I can’t  seem to take a good image of the apple cake!
It is one of those cakes that all want in my house!!!
 "what cake shall I prepare today? A pie or apple cake? moretto or tiramisù?" the answer is 99%: Apple cake!
Often apples mature fast and we cannot manage to eat them all so this recipe is ideal to use up the good parts of it.

Ingredients:

  •  4 apples
  • 200gr flour
  • 150gr sugar
  • 150gr milk
  • 2 eggs
  • Juice and grated skin of 1 lemon
  • 1 sachet of cremor tartar (instead of chemical yeast)
  • 1 pinch salt
  • 1 pinch cinnamon

Peel the apples and cut them up in thin slices, cover them up with the lemon juice and let them simmer.
In a bowl mix all the other ingredients to make a soft texture. Take a pan and grease it and add half of the mix,  place the apple slices on top and add the rest of the mixed ingredients. Finally add more apple slices on the top and place in a warm over at 180° for 30 minutes.
Buon appetito!

Stories are for those who listen, recipes for those who eat them. This recipe is a present for a friend. It isn’t my own property, it is only a part of my everyday life: this is why I freely give it away on the web.

venerdì 27 gennaio 2012

E' ora della semina! - Time to sow!

Nelle prossime settimane semineremo per il nostro orto. Ma questo non deve essere costoso anzi il riuso in questo caso è d'obbligo!
Perciò dopo aver deciso cosa piantare e aver fatto una stima del numero di piantine basterà organizzarsi con contenitori, compost (magari della vostra compostiera), semi (preferibilmente bio) e acqua.

Il contenitore on deve essere un lusso costoso anzi basterà mettere da parte vasi da yogurt oppure tagliare bottiglie di plastica, contenitori di formaggi oppure tetra pack lavati e aperti. Ma se non avete contenitori di plastica si può usare cartoni delle uova oppure rotoli di carta igienica quest'ultimi sono ottimi perché potete piantarli direttamente in terra quando la piantina sarà cresciuta.
(paneamoreecreativita.it)

Se invece siete pieni di carta da giornale ecco un ottimo modo per preparare dei vasetti ecologici visto che poi potrete piantare i vasi direttamente in terra. Mi è stato regalato un attrezzo per farlo ma in realtà non serve, ecco un video che vi spiega tutto. (Un lavoretto divertente da fare con i bambini!)

Ora inserite del terriccio bagnatelo e aggiungete un paio di semi a vasetto (per sicurezza) ed etichettate tutto seno c'è il rischio che vi scordate cosa avete piantato. Mettete i vasi su dei vassoi davanti alle finestre e non scordatevi di annaffiare!

Emma

During the next few weeks we will be planting our seeds for our vegetable garden. But this shouldn't be an expensive thing to do, it is much better to recycle!

After you have decided what to plant and you have decided how many plants to plant you will need to organize containers for seedling, get some compost (maybe from your own composter), seeds (preferably organic) and water.


The containers musn’t be an expensive  luxury but you will only need to keep yogurt pots, cut out plastic bottles, use cheese containers or tetra packs washed and opened up. But if you don’t have any plastic containers you can use egg boxes or toilet paper rolls which can then be planted directly in the soil .

If you have newspapers here is a great way to use them up, just make paper pots with them. These too are ecological as they can be planted directly in your garden . I have been given a special tool to make them but you can make them simply by using a can. The video shows you how to make them. (A fun thing to do with children!) 
Now that you have your containers put some soil, a couple of seeds (to be sure that one of them grow), water, also add name tags so that you don't forget what you planted and place your containers on trays in front of a window. Don't forget to water them!